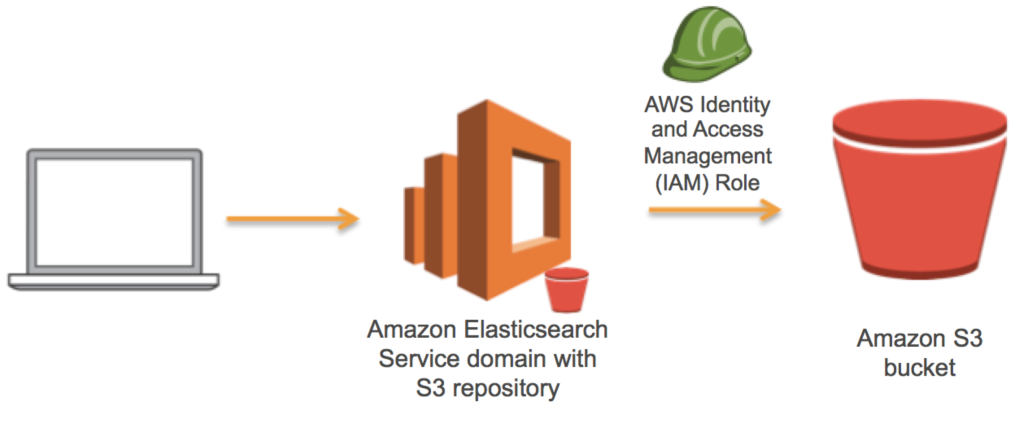
AWS: Mount S3 to Ec2 instances

Step1: Install S3FS

a) Install using yum (Centos /Redhat):

# sudo yum install s3fs-fuse

b) Install using apt-get ( Ubuntu):

# sudo apt-get install s3fs

c) Install from source code:

 # sudo yum install automake fuse fuse-devel gcc-c++ libcurl-devel libxml2-devel make openssl-devel
# cd /tmp
# wget https://github.com/s3fs-fuse/s3fs-fuse/archive/master.zip
# unzip master.zip
# cd  s3fs-fuse-master
# ./autogen.sh 
# ./configure --prefix=/usr 
# make
# sudo make install

Step2: Create S3 bucket or S3 Folder

You can create S3 bucket in AWS S3, if you want to mount folder you can create folder in existing bucket. for this tutorial, lets say bucket is s3bucket and folder is s3folder.

Step3: mount S3

Create a folder to mount

# mkdir -p /var/s3


We will be adding following entry into /etc/fstab based on our requirement.

a) Mounting as IAM role:

You can change iam_role value from auto to any specific role as required otherwise auto will auto detect role.

s3fs#s3bucket /var/s3 fuse _netdev,nonempty,mp_umask=022,allow_other,use_cache=/tmp,iam_role=auto,rw 0 0
b) Mounting S3 folder:
s3fs#s3bucket:/s3folder /var/s3 fuse _netdev,nonempty,mp_umask=022,allow_other,use_cache=/tmp,iam_role=auto,rw 0 0


In above example s3bucket is post-pended with folder name s3folder

c) mount with access key:

Create access file:

# echo ACCESS_KEY:SECRET_KEY > ~/.passwd-s3fs
# cat ~/ .passwd-s3fs ACCESS_KEY:SECRET_KEY
# chmod 600 .passwd-s3fs

Edit /etc/fstab:

s3fs#s3bucket /var/s3 fuse _netdev,nonempty,mp_umask=022,allow_other,use_cache=/tmp,rw 0 0

If you want to mount folder then edit /etc/fstab with following entry:

s3fs#s3bucket:/s3folder /var/s3 fuse _netdev,nonempty,mp_umask=022,allow_other,use_cache=/tmp,rw 0 0

Step 4: Final steps

Activate the mount:

# mount -a 

Check your mount:

# df

You should able to see all your mounts along with s3 mount.

postfix : how to prevent open relay?

Postfix by default installation allows emails can be sent without authentication. So anyone can send email with any email address using postfix server with default settings. This will allow spammers to use your servers to send emails and even malware /virus. Receiver will see your server as the MTA and will result ip in spam list.

There are three main curtial settings in /etc/postfix/main.cf:

smtpd_sender_restrictions: Restrict sender for sending email only if given criteria matched. Best two options are reject_unknown_sender_domain and permit_sasl_autheticated. Which only allows domains in your servers are allowed to send emails and authentication is required to send email. You can also add more options as below:

smtpd_sender_restrictions =
        reject_sender_login_mismatch,
        reject_non_fqdn_sender,
        reject_unlisted_sender,
        permit_mynetworks,
        permit_sasl_authenticated,
        reject_unauth_destination,
        reject_invalid_hostname,
        reject_unknown_sender_domain,
    reject_unauth_pipelining

smtpd_recipient_restrictions: This options allow to filter incoming emails based on criteria which will help to minimize spam emails: Some of the important options are: reject_non_fqdn_recipient, reject_unlisted_reciepient, permit_sasl_authenticated and reject_invalid_hostname. More options can be added as follows.

smtpd_recipient_restrictions =
reject_non_fqdn_recipient,
reject_unlisted_recipient
permit_mynetworks,
permit_sasl_authenticated,
reject_unauth_destination,
reject_invalid_hostname,
reject_unknown_sender_domain,
reject_unknown_recipient_domain,
reject_unauth_pipelining

smtpd_relay_restrictions: Prevent others to use your server to send emails. Most important setting is permit_sasl_authenticated. More options can be added as follows:

 smtpd_relay_restrictions = permit_mynetworks, 
        permit_sasl_authenticated,
        reject_unauth_destination

You can also force authentication by uncometing following option in /etc/postfix/master.cf

-o smtpd_relay_restrictions=permit_sasl_authenticated,reject

For more information visit: http://www.postfix.org/SMTPD_ACCESS_README.html